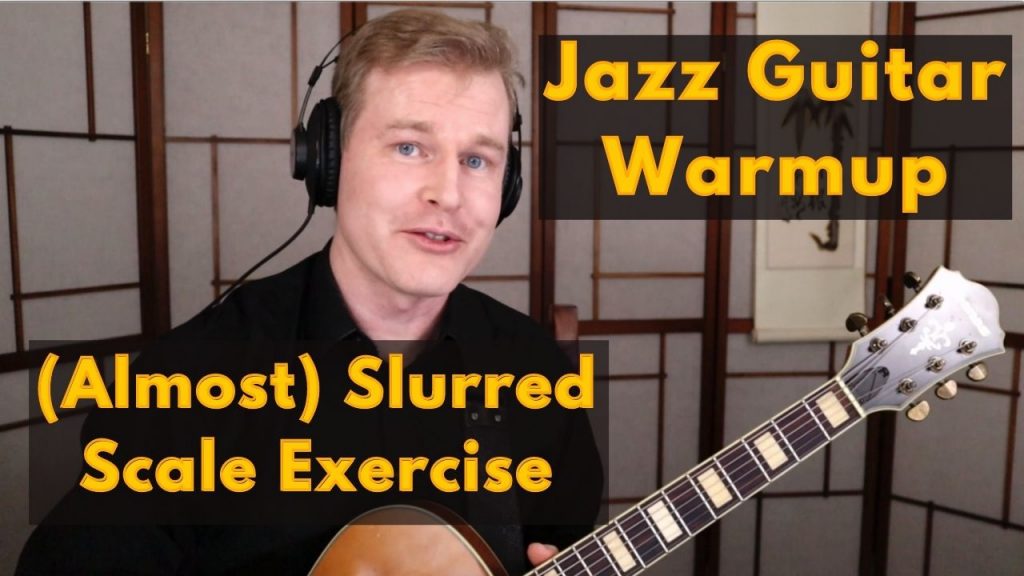
Jazz Guitar Warmup: (Almost) Slurred Scale Exercise
Get the PDF and Backing Track for this lesson HERE: https://www.fretdojo.com/pdf/ In this FretDojo episode we’re going to cover a […]
Get the PDF and Backing Track for this lesson HERE: https://www.fretdojo.com/pdf/ In this FretDojo episode we’re going to cover a […]
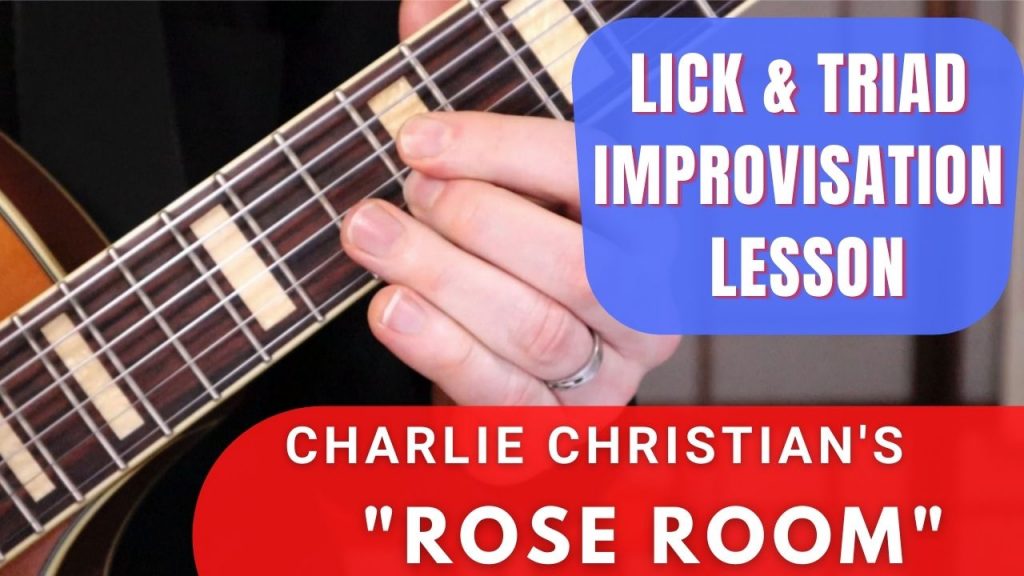
► Get your FREE PDF Worksheet for this lesson here: https://www.fretdojo.com/pdf ► Start Your FretDojo Academy Membership here: https://www.fretdojo.com/signup-offer In this session

In this fantastic session, Ant shares some tips and inspiration for jazz guitar players of all levels and lets us

On today’s Podcast, Carl Orr, FretDojo’s current Artist In Residence, shares his insights into the magic of chord melody and
In today’s topic, I want to talk about something important. How hard is it, really, to learn jazz? Check out
Welcome to the Chord Melody Guitar lessons area on FretDojo! If you’re like most guitarists, you’re in wonder of players like
There’s a bit of a trap that you can fall into learning this dark art of jazz (and especially jazz guitar). The feeling that you need to know everything about jazz…to be able to play jazz. Think about this…
► Get your FREE PDF Worksheet for this lesson here: https://www.fretdojo.com/pdf/ ► Start Your FretDojo Academy Membership Here: https://www.fretdojo.com/signup-offer Welcome to this