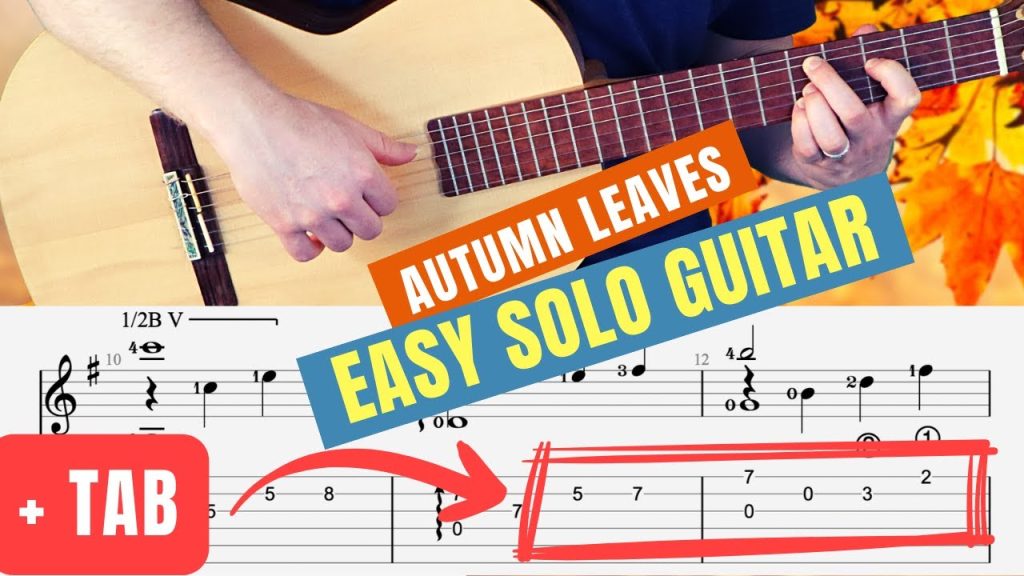
Autumn Leaves Guitar Hacks – Easy Fingerstyle Lesson + TAB
After weeks of experimentation and hours upon hours of blood, sweat, and tears, here is the easiest Autumn Leaves chord […]
After weeks of experimentation and hours upon hours of blood, sweat, and tears, here is the easiest Autumn Leaves chord […]
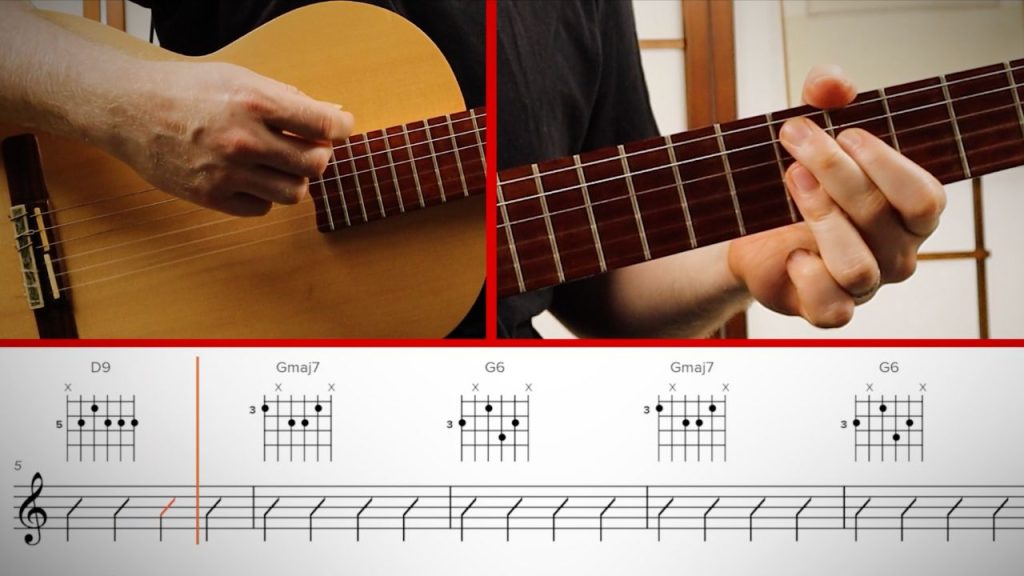
Today’s lesson is about playing jazz barre chords in all their groovy goodness. Students often complain about what seems to

About This Easy Asturias Guitar Tab: Isaac Albéniz was one of the most important Spanish composers of his time. In

Have you been struggling to make a 2 5 1 chord progression guitar friendly? Or maybe you want to understand
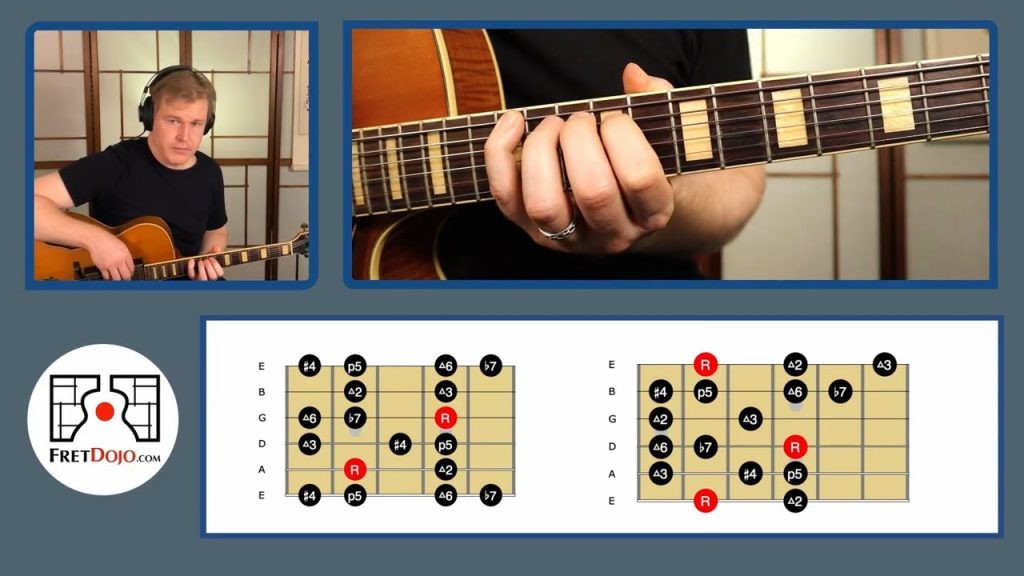
Does the Lydian Dominant Scale seem somewhat cryptic to you? If you’re a guitarist looking to put some more spice into your
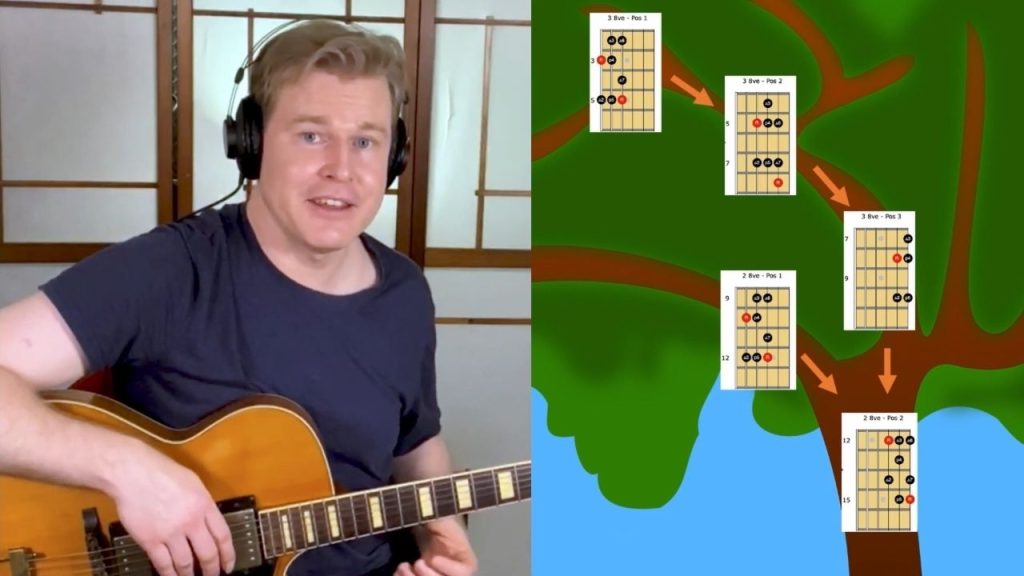
Have you been struggling with jazz guitar improvisation and are wondering about the best jazz guitar scales to use? In this jazz